Creating a professional email address using your domain name is a vital step in building your online presence. With our cPanel hosting, you can easily set up email accounts for your domain. We include email hosting with all WordPress and cPanel plans, allowing you to create unlimited email accounts within the storage limits of your hosting account.
Prerequisites
Before you begin, ensure you have:
Access to your Skyrack cPanel account.
Your cPanel login credentials (username and password).
A domain associated with your Skyrack hosting plan.
If you don’t have these, please contact us for assistance.
Log in to cPanel
Open your web browser and navigate to your cPanel login page. This is typically accessible via a URL provided by Skyrack, such as the one sent in your hosting welcome email.
Enter your cPanel username and password, then click Log In.
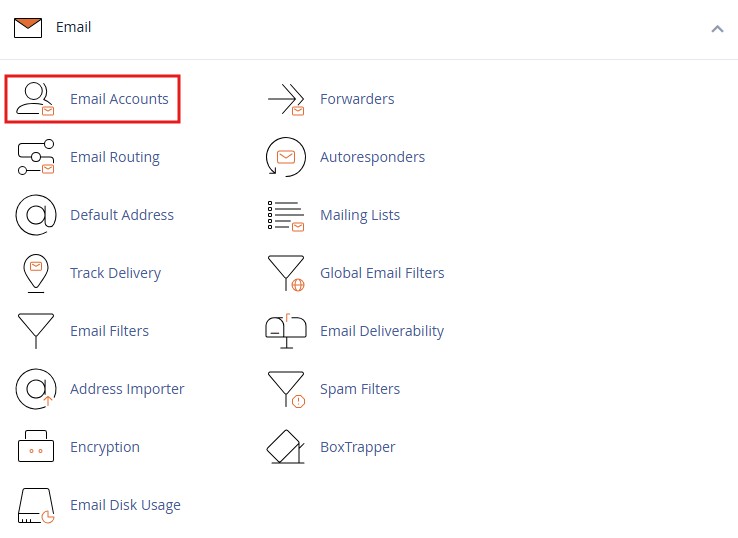
Navigate to Email Accounts
Once logged in, you’ll see the cPanel dashboard, which contains various tools for managing your hosting account.
Scroll down to the Email section, usually found in the left-hand side menu or main dashboard and click on Email Accounts to open the email management interface.
Create a New Email Account
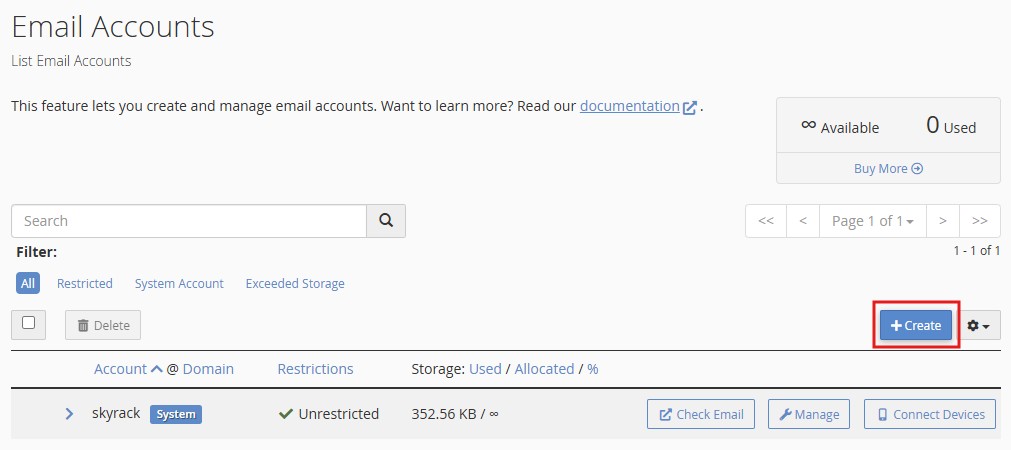
On the Email Accounts page, click the Create button, typically located at the top right. (Diagram 1)
Select the Domain:
If you have multiple domains associated with your cPanel account, use the dropdown menu next to Domain to select the domain for which you want to create the email account (e.g., yourdomain.com).
If you only have one domain, it will be automatically selected.
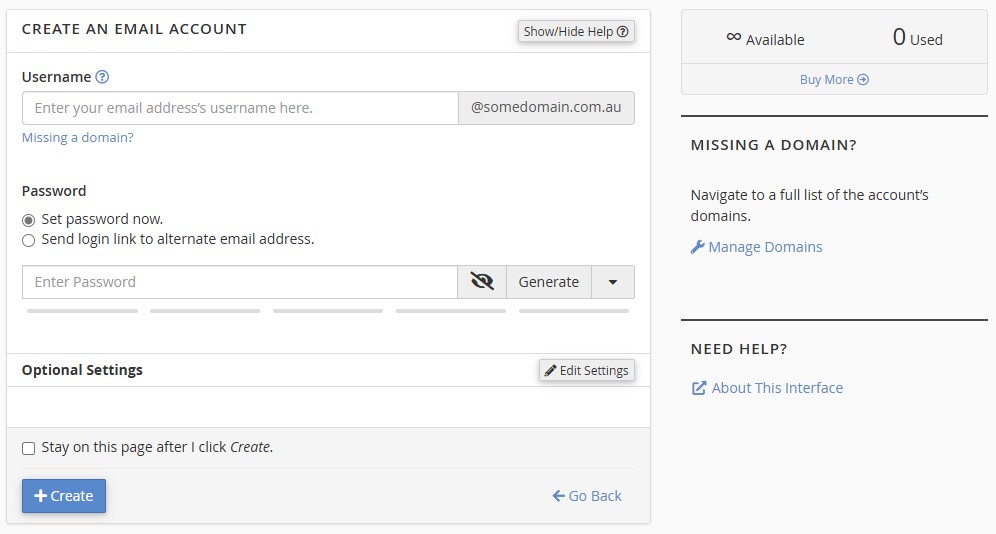
Enter the Username:
In the Username field, type the desired username for your email address. For example, to create info@somedomain.com.au, enter “info”.
Note: The username cannot be “cpanel” as it’s reserved by the system.
Set the Password:
Select Set password now and enter a secure password in the Password field. For added security, click Generate to create a strong password automatically.
Alternatively, choose Send login link to alternate email address and enter another email address. This sends a link to that email, allowing the recipient (e.g., an employee) to set their own password.
Optional Settings:
Storage Space: Specify the storage space for this email account (in MB) or select Unlimited if your plan permits. Note that email storage is part of your total hosting plan storage, so plan accordingly to avoid delivery issues.
Plus Addressing: Decide whether to enable automatic folder creation for plus addressing (e.g., email+label@somedomain.com.au). This is useful for filtering emails.
Send welcome email: Check this box to send a welcome email with instructions for setting up a mail client. This option is disabled if you choose the login link method.
If you plan to create multiple email accounts, check the box labeled Stay on this page after I click Create to remain on the creation page.
Diagram 1 – Click the ‘Create’ button to create a new email address
Finalise the Creation
Review your entries, then click Create to set up the email account.
If you checked the “Stay on this page” option, you can immediately create another email account by repeating the steps above.
You’ll return to the Email Accounts interface, where your new email account will be listed.
Access Your Email
To check your email via webmail:
Visit the webmail URL provided by us, typically in your hosting welcome email.
Enter your full email address (e.g., info@somedomain.com.au) and the password set earlier.
To use an email client (e.g., Microsoft Outlook, Mozilla Thunderbird):
In the Email Accounts page, locate your new email account and click Set Up Mail Client.
Follow the provided IMAP settings to configure your email client. These settings include server names, ports, and security protocols.
Last updated: 17 May 2025
Table Of Contents
We’re an Australian owned and operated domain and hosting business providing top tier hosting services to hundreds of happy clients country wide since 2012. With a dedicated focus on performance, stability and security we strive to keep your business and website online, all the time.